How To Draw Clouds Clip Studio Paint
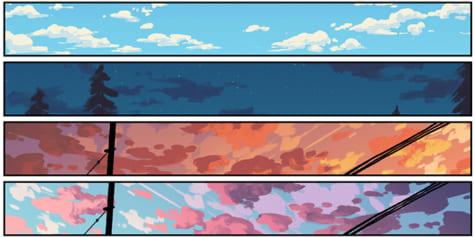
In this tutorial, learn how to draw compelling skies, including clear skies, rainy skies, moonlit nights, dawn and dusk. Comic artist Ann Maulina explains in detail how to choose colors for each scene and how to draw clouds.
Sunny Sky
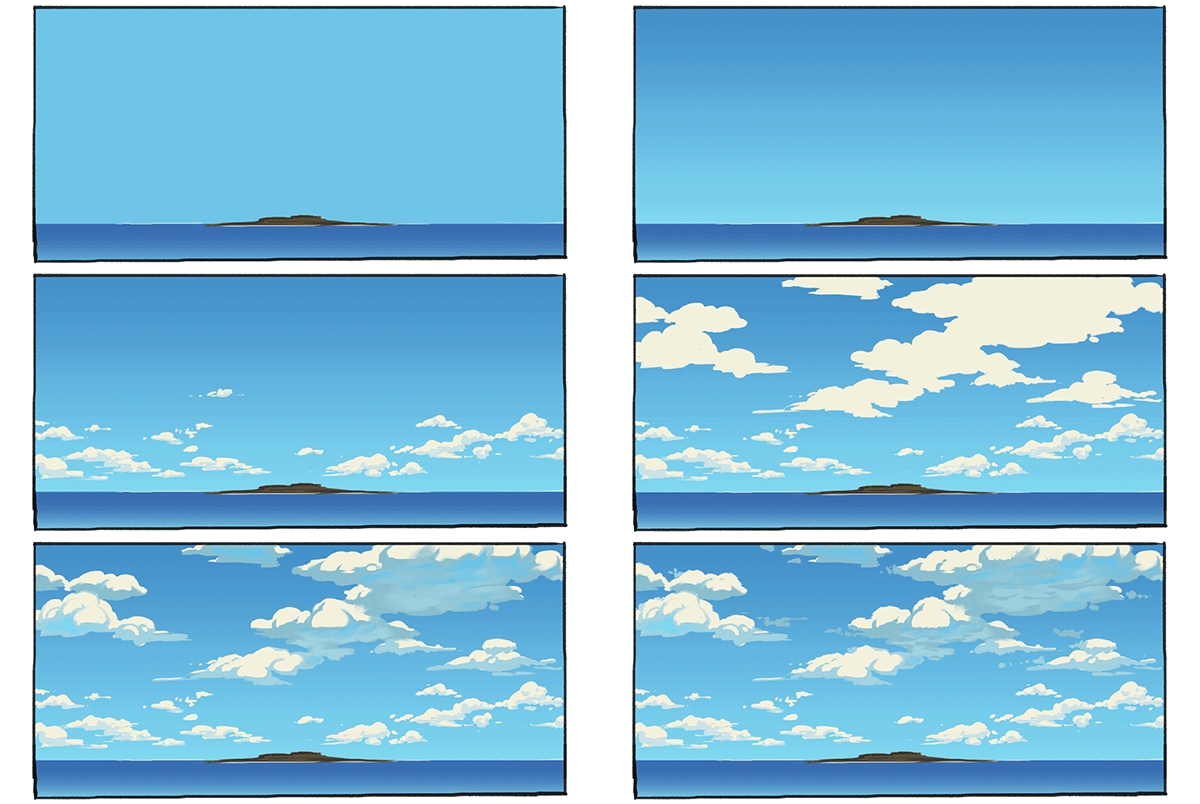
We can easily differentiate clear, sunny sky and cloudy/rainy sky by the amount of clouds in the sky.
Fill the sky with blue half tone color. Add two gradations. Darker one at the top, brighter one at the bottom. Don't forget to shift the hue! See my previous tutorial about a guide to color schemes to understand the importance of hue shift between colors.
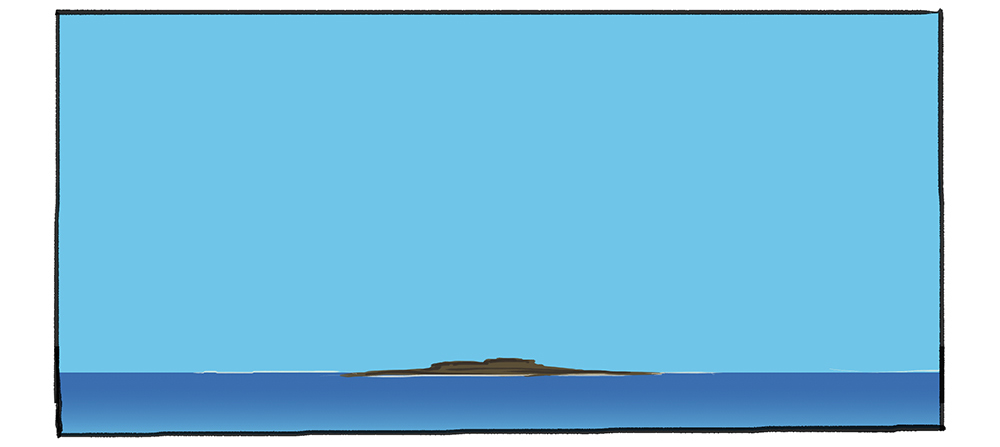
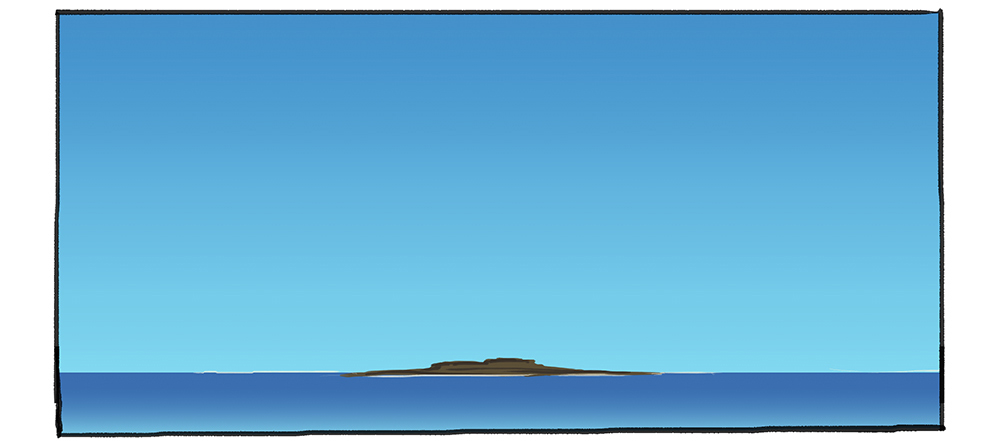
And that's it! You have a painting of a clear sky! (☉∀☉)
Add some clouds for a clear-sky-but-not-really. Use a very light and pale yellow instead of white for a nice complementary color scheme.
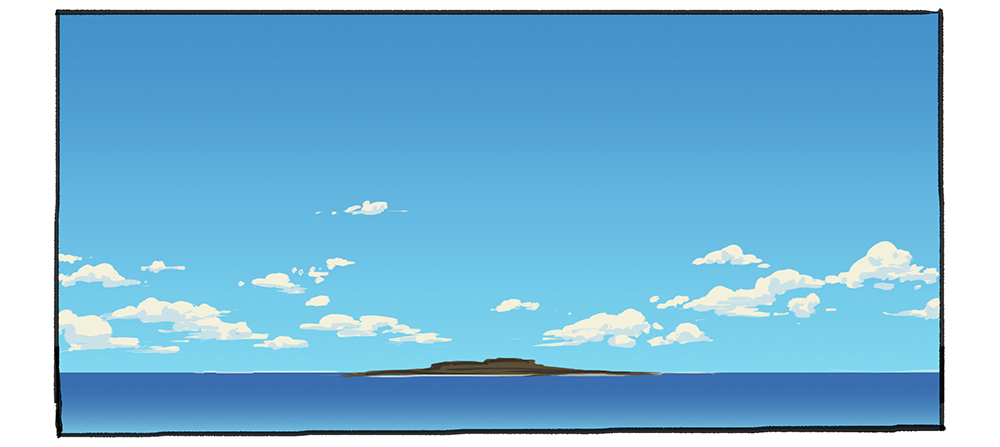
Add some more cumulus clouds (fluffy clouds) for a nice sunny sky.
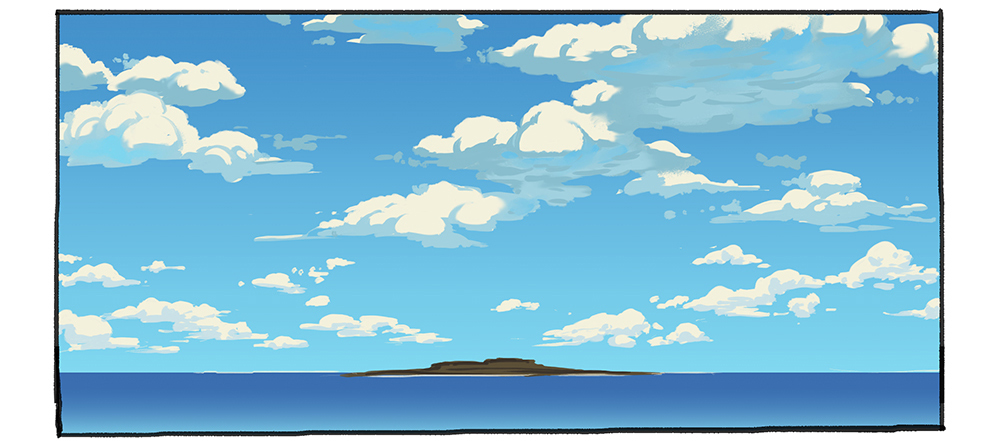
▼Animated GIF
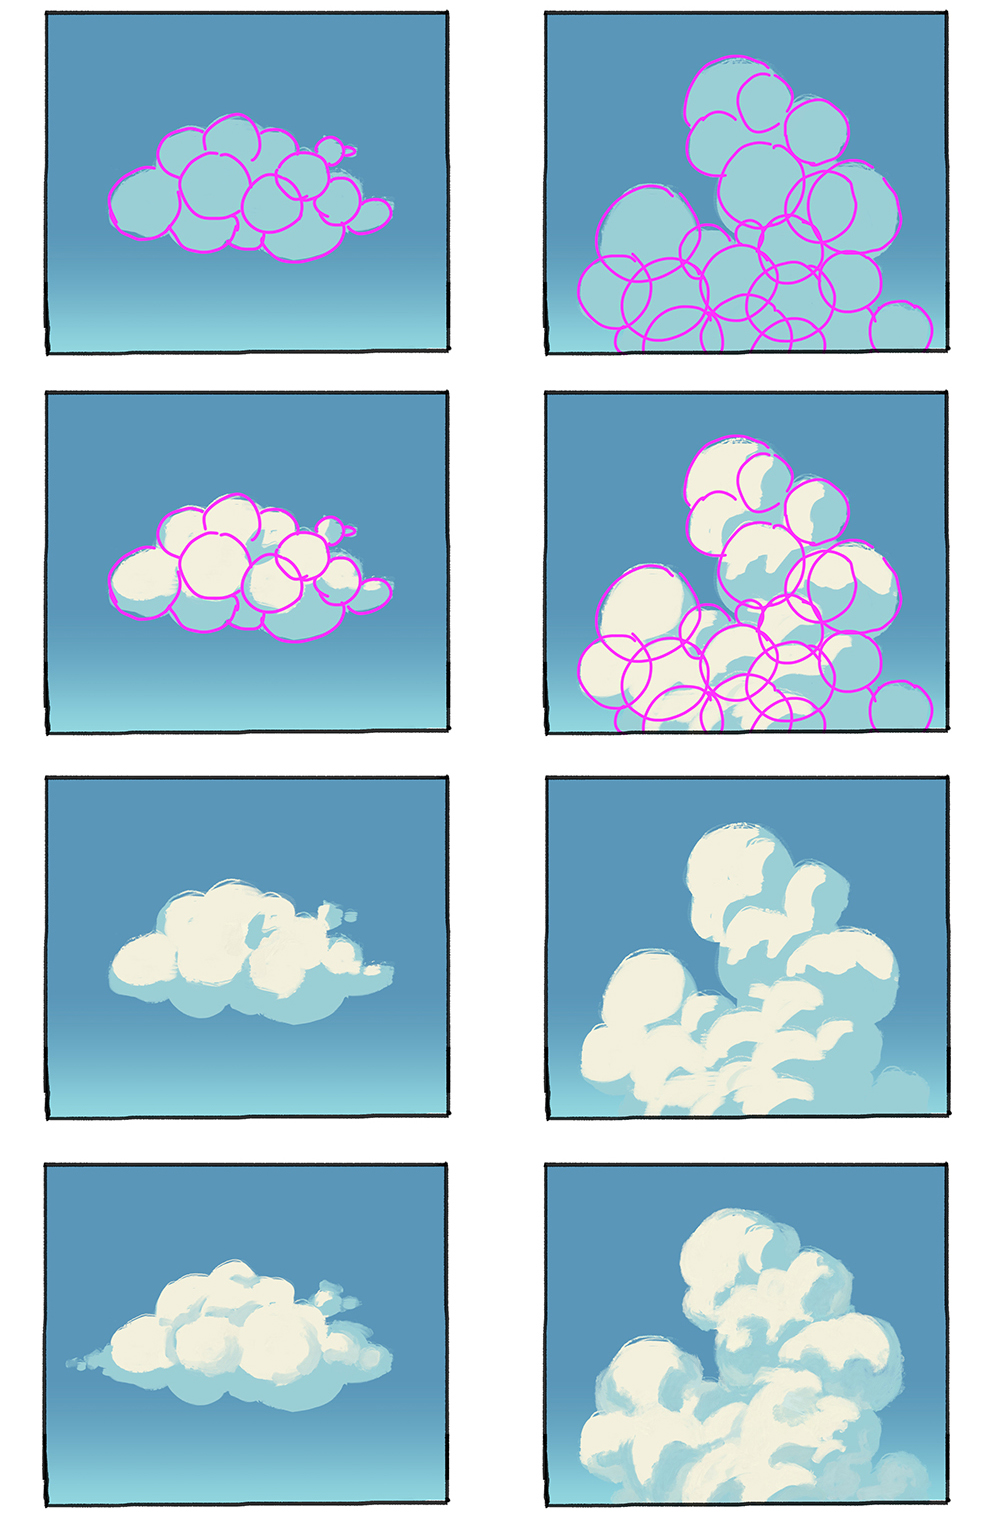
To paint some fluffy clouds, I use a cluster of spheres for guide.
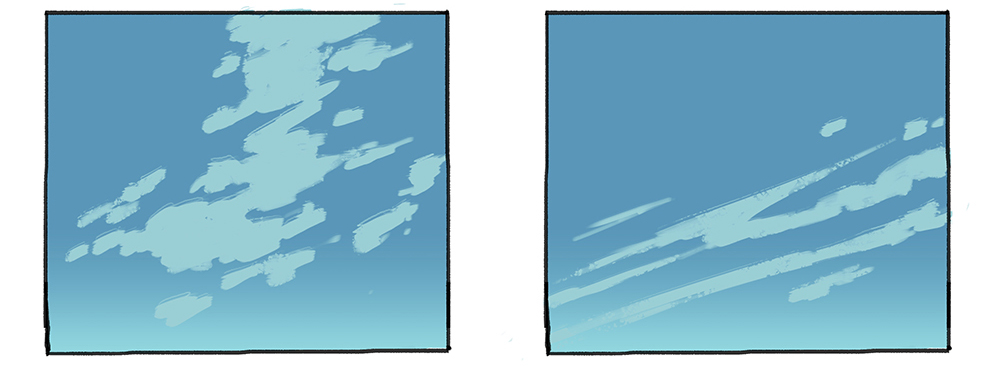
Clouds has many shapes. On windy days, the shape of clouds can be more like blurry lines instead of cluster of spheres.
Sky Perspective
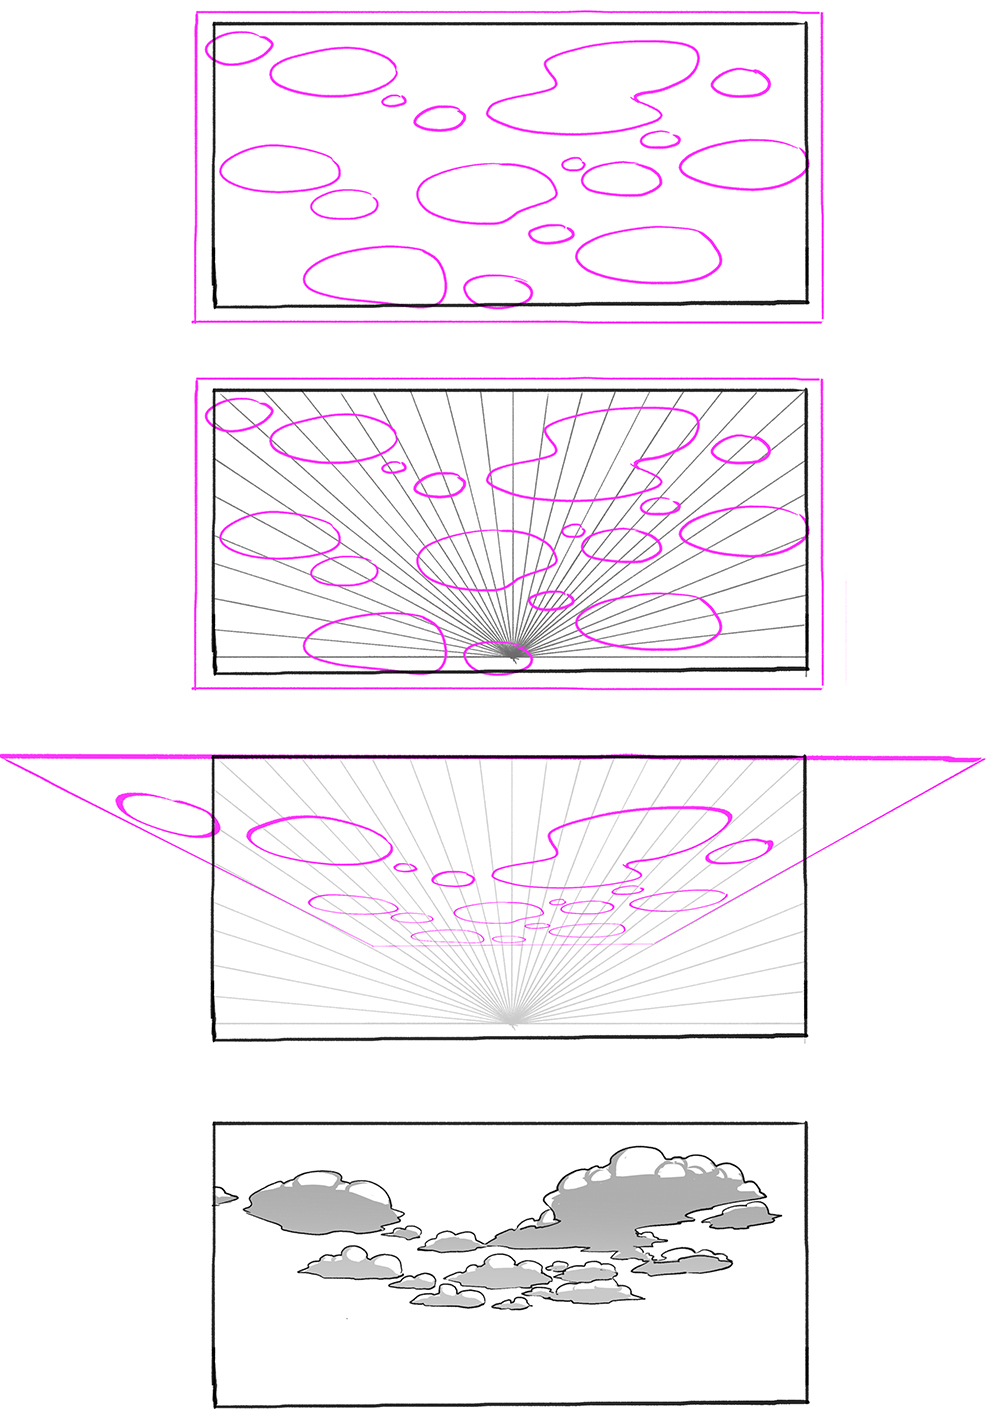
Mind the perspective when drawing clouds in the sky. Clouds are spread across the sky. Without perspective applied, the sky will look flat and lack of depth.

Here is a way to help you place clouds in perspective.
- Draw some clouds' bottoms scattered in a canvas,
- Transform the canvas based on perspective,
- Use the sketch as guide to draw clouds.
Rainy Sky
On cloudy/rainy sky, the sky is mostly covered by the clouds thus makes the ambient darker. Have some muted color as the base by lowering the saturation and value of the image.

I suggest you to edit the saturation and value of the objects and background in the image separately to get better result. Sometimes you lost some gradation and contrast if you adjust all the layers together. Meanwhile, when you adjust the saturation and value separately, you can have darker image but still maintaining some gradation and contrast.

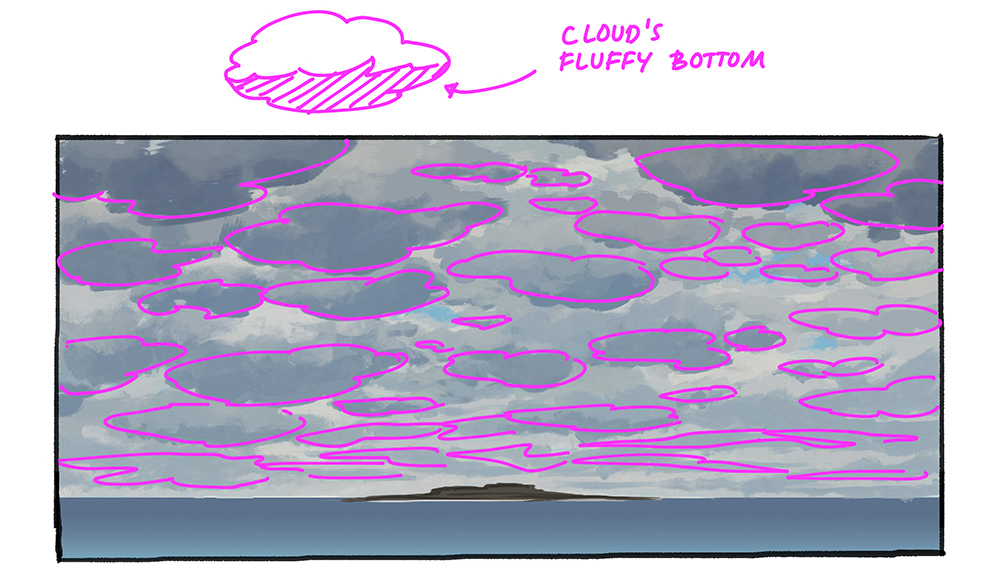
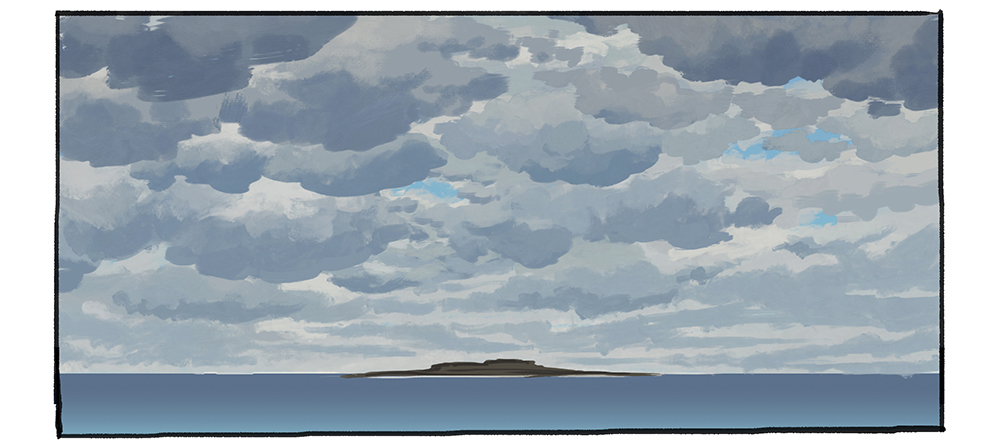
From the ground we will mostly see the bottom of the clouds with some lights leaking in between.
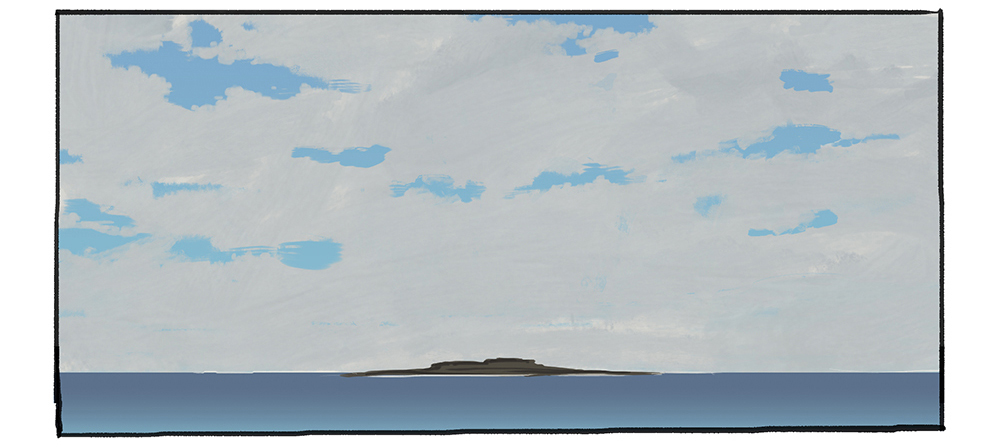
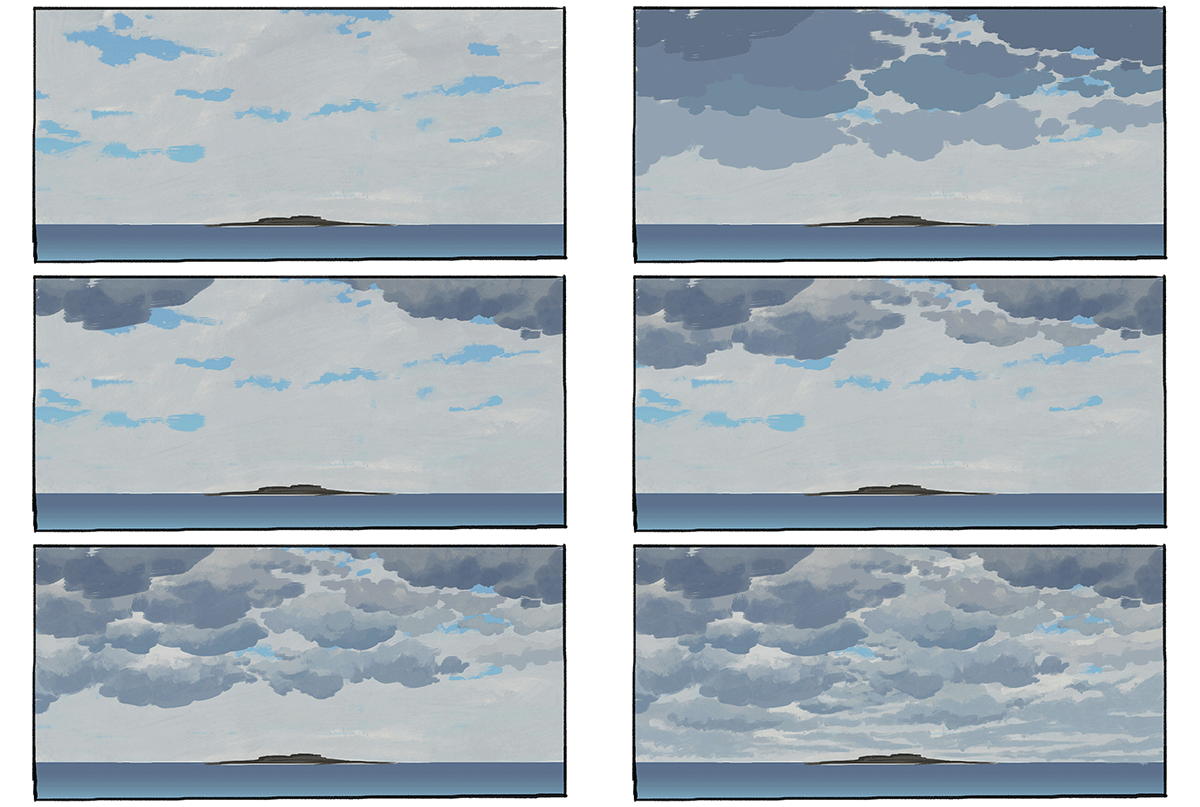
To paint this cloudy sky, first I filled the sky with muted yellow. I left some holes on it so the sky will be peeking between the clouds.
Next, I made some selections for rows of clouds (in this case, 4 rows). I separated them in different layers. These selections are made so I can easily make some light leaks between clouds. And also, to separate some clouds so we can still which bottom belong to which cloud.
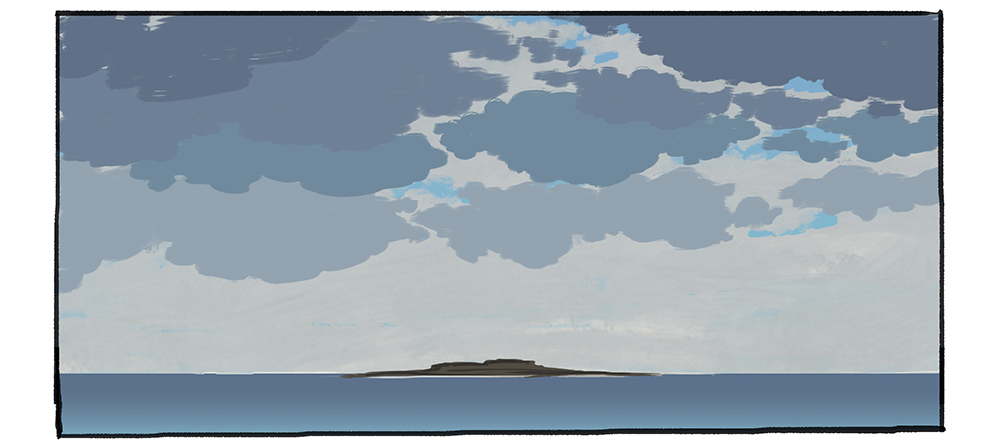
Rendering clouds row by row based on previous selections.
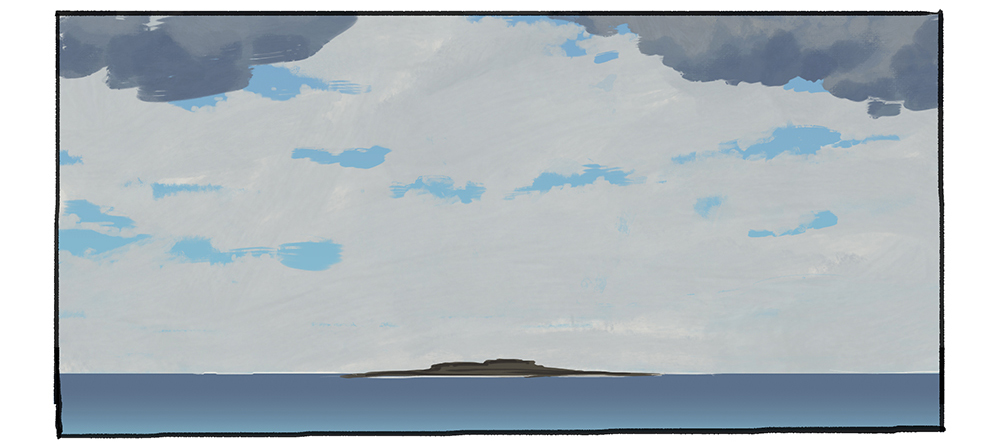
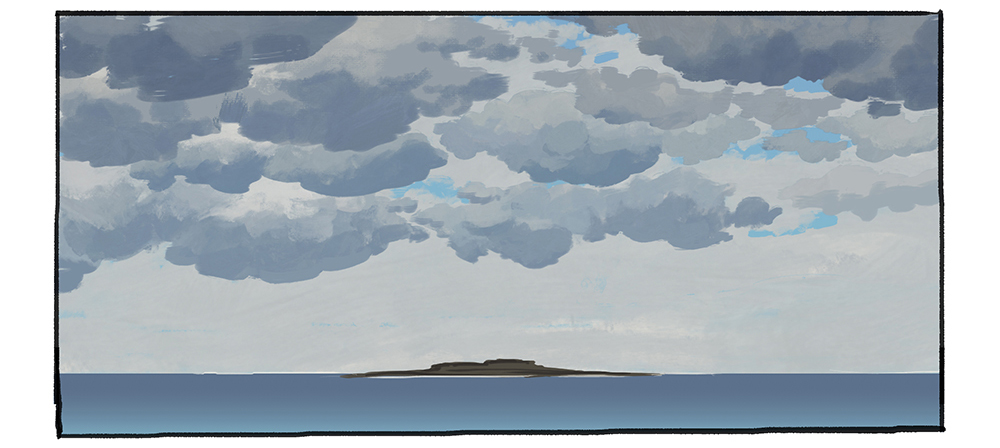
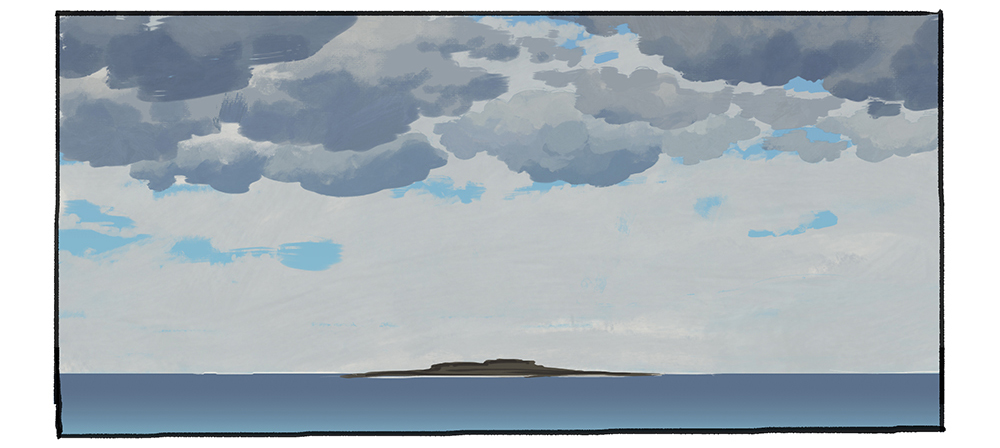
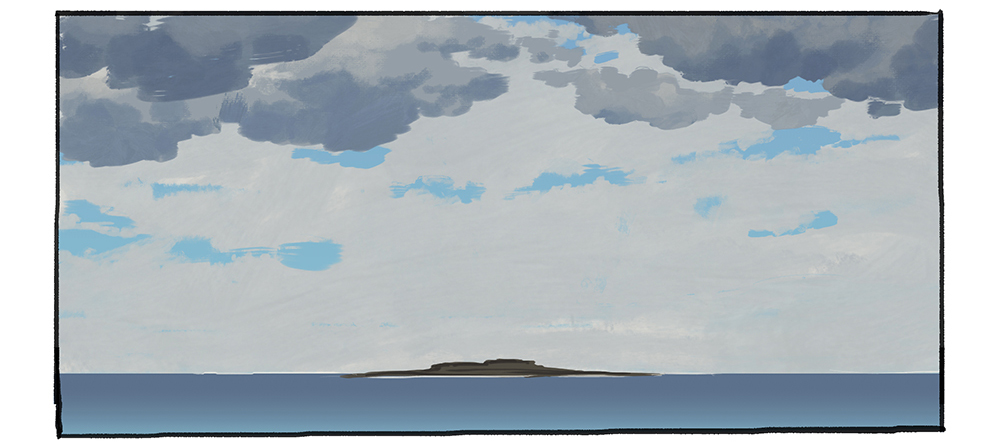
In this part I painted the faraway clouds with in one layer because we don't need too much detail on it.
▼Animated GIF
Starry Night Sky and Moonlight
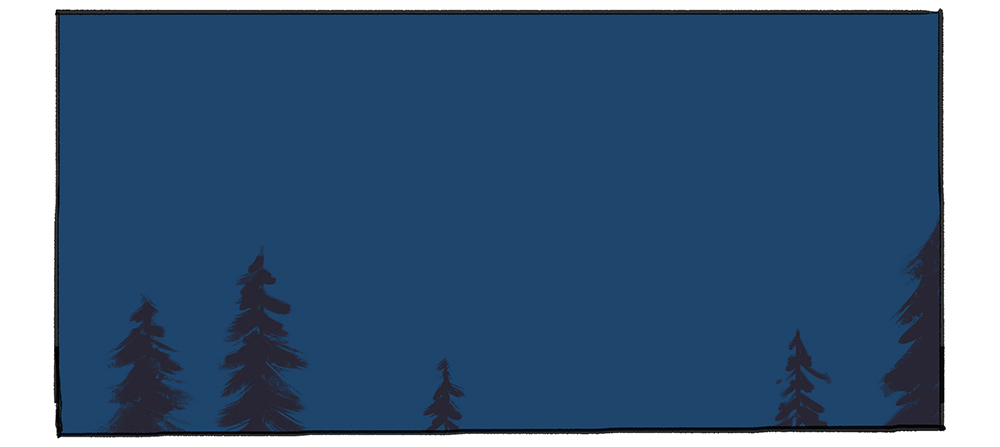
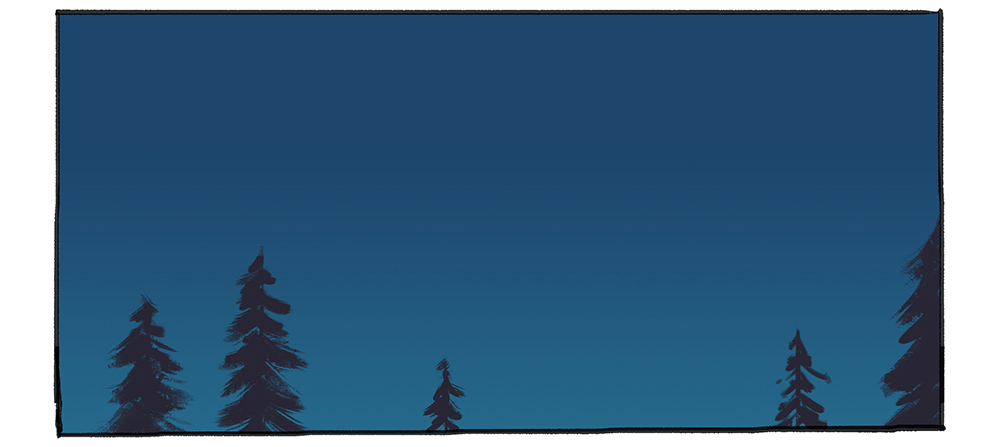
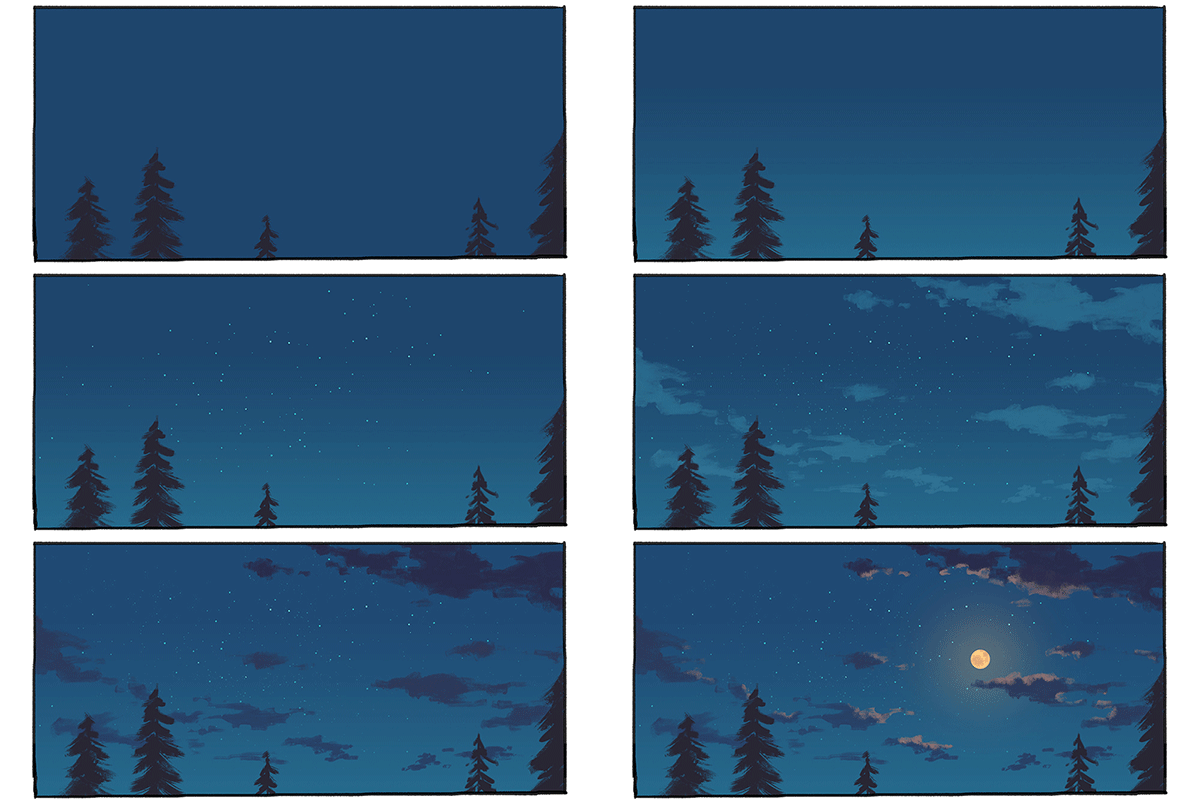
Fill the canvas with simple gradation of two dark colors.
Add scattered bright dots for stars. For this, I used spray brush under airbrush tool on Clip Studio Paint.
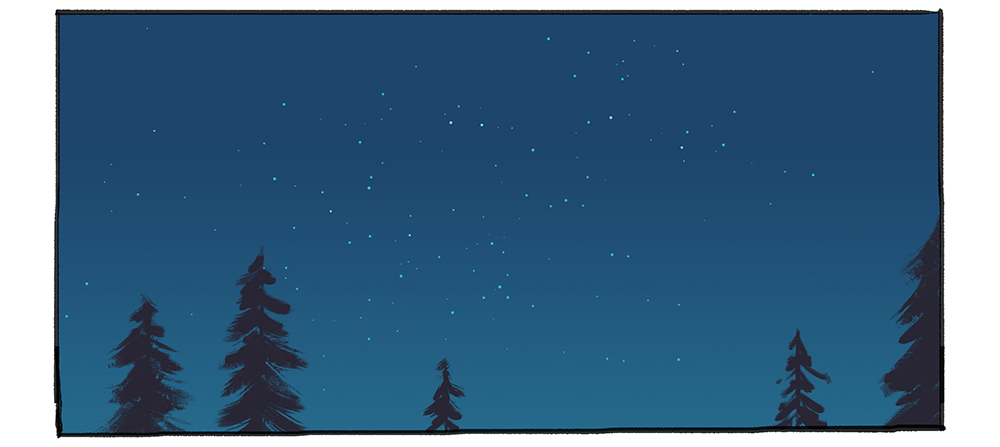
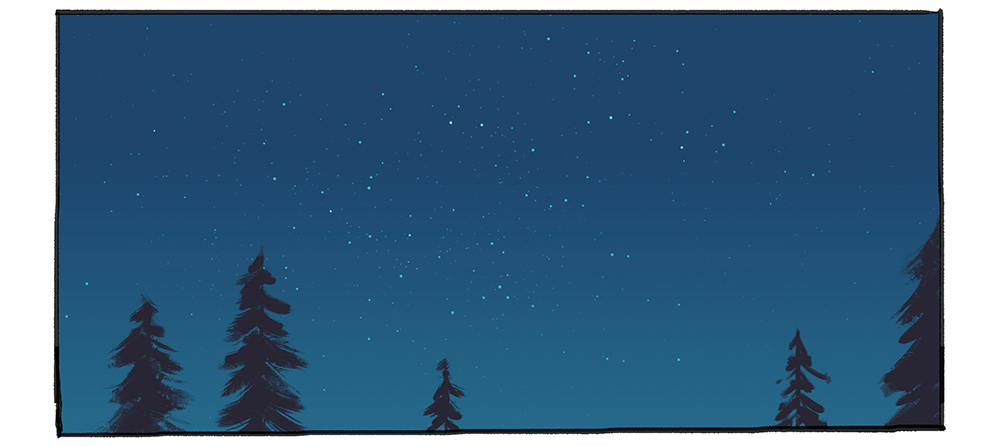
Add some smaller dots of stars behind the bigger dots.
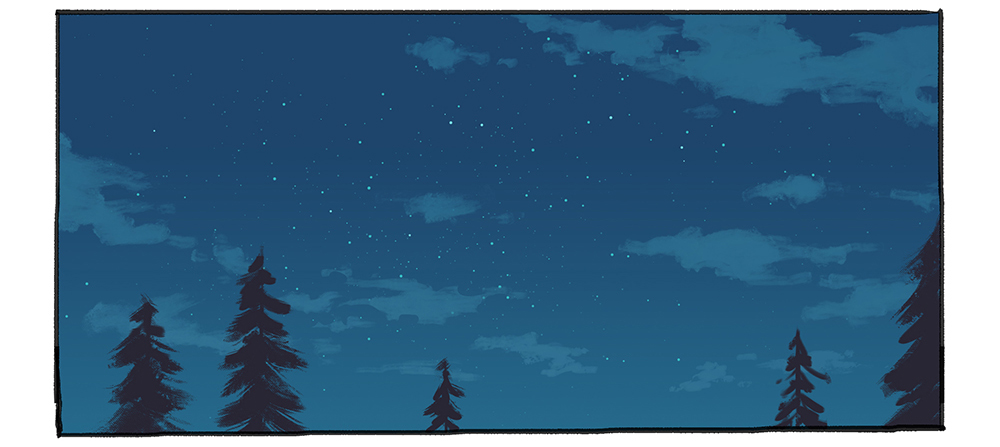
Add some clouds. I wanted to make this a starry sky so I didn't add many clouds here. Clouds are barely visible at night, so I chose colors that close to the sky's color.
The steps can end here, but you can also use darker cloud to make the sky looks brighter.
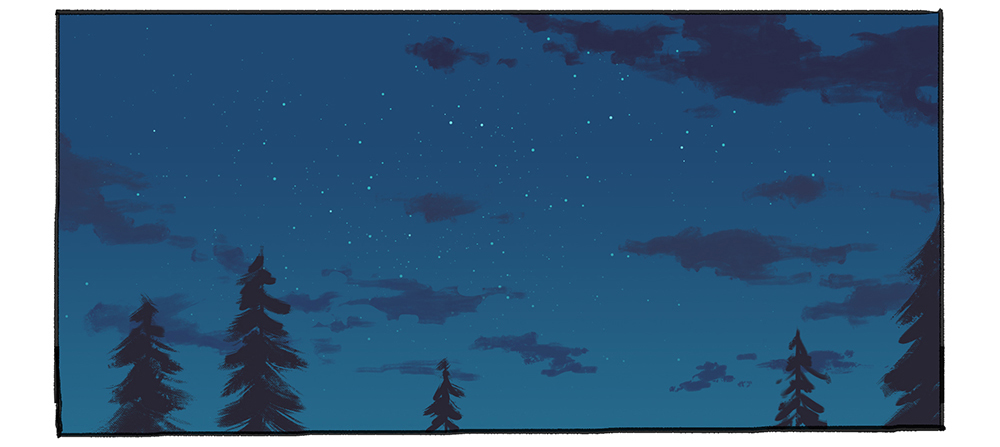
If there is a bright moonlight, it is necessary to add some lighter color to the clouds.
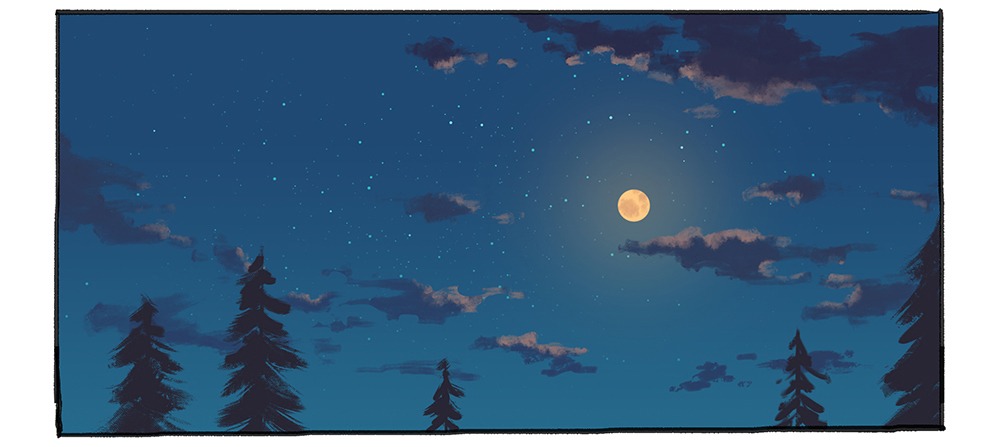
▼Animated GIF
Dawn and Dusk Sky
Dawn and dusk, what's the difference? Aside from the sun position, where it's located in the west if dusk and the east if dawn, there's actually no significant differences between how dawn and dusk look in camera captured pictures.

However, I heard that our eyes condition effect on how we capture the sky. When dawn came, our eyes are used to dark surrounding, so the dawn sky looks brighter than it should be. Meanwhile, our eyes are tired in late afternoon (dusk) and are used to bright surrounding of daylight so the dusk sky appears darker than it should be. Just like when we enter a room after being outside under sunny day. The room will look really dark until our eyes are adjusting. Using this information, I usually use some softer, more welcoming colors for dawn, and sharper, more contrast colors for dusk. This way we can differentiate the sky at dawn and dusk just by seeing the images.
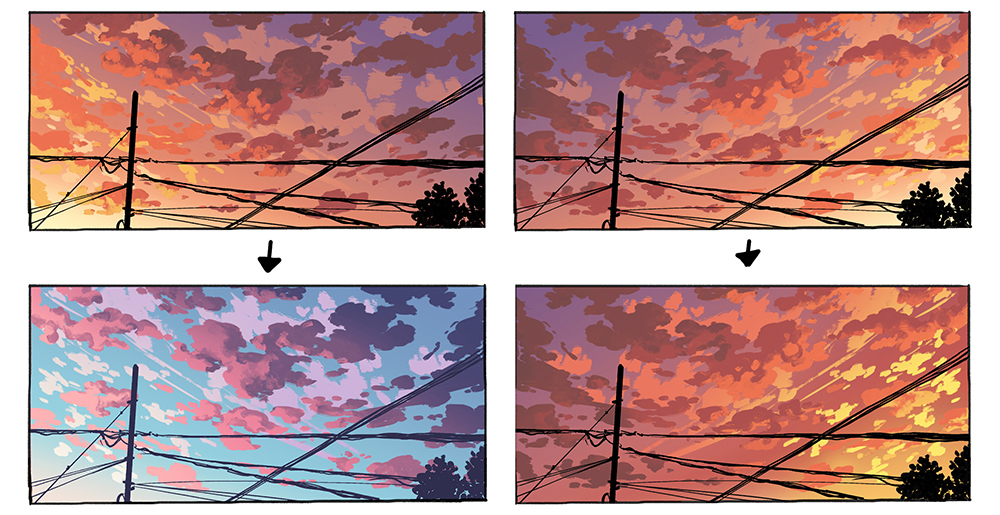
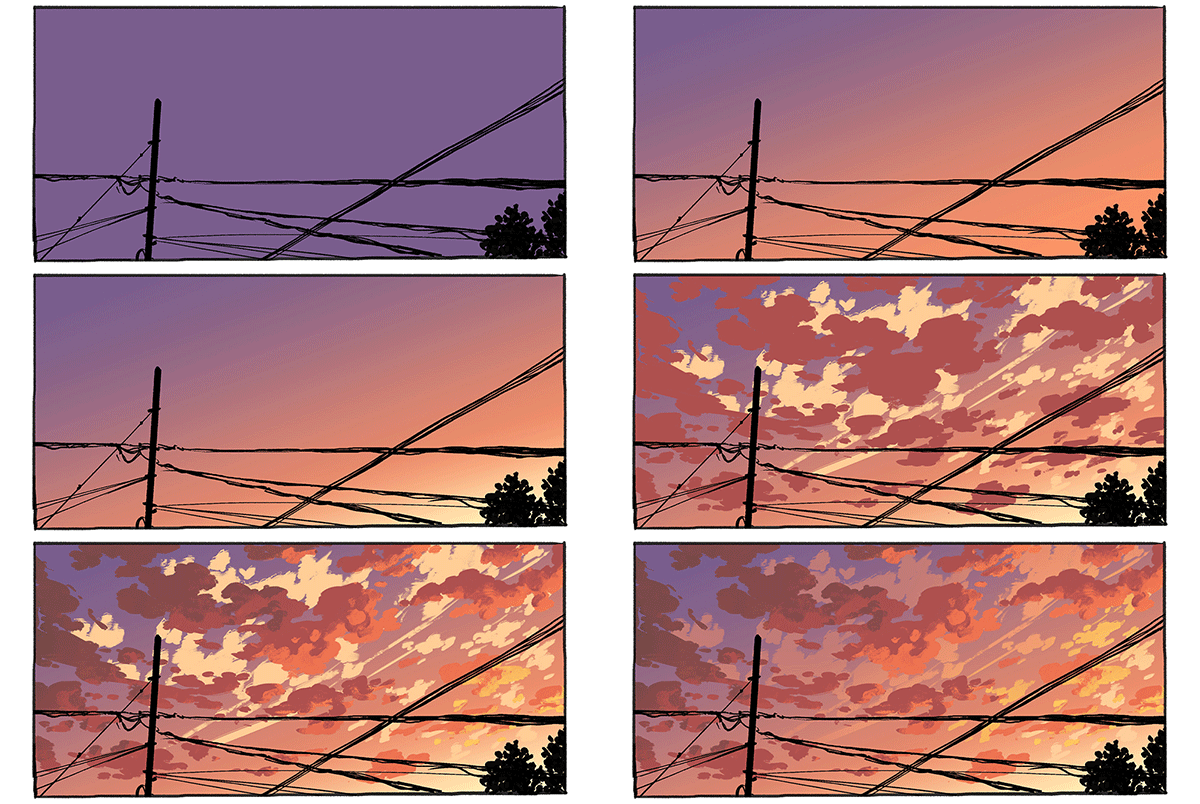
I'll show you the steps of making dawn/dusk sky. They use the same method so I'll just explain once. The rest is just switching light source and color scheme.
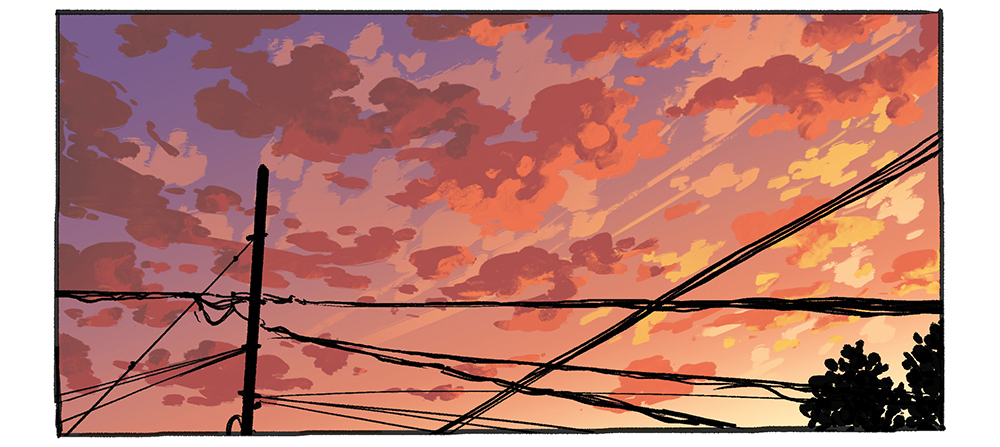
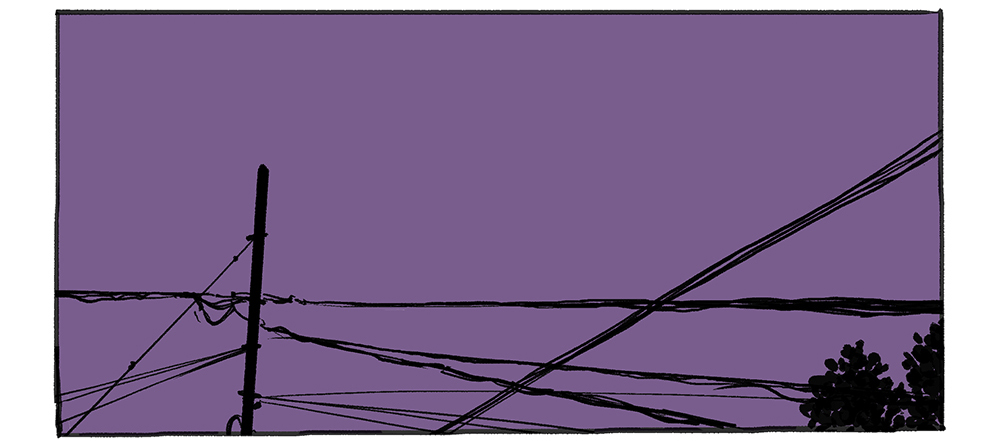
I used a muted purple as the sky color. It will create a nice analogous color scheme with red and yellow.
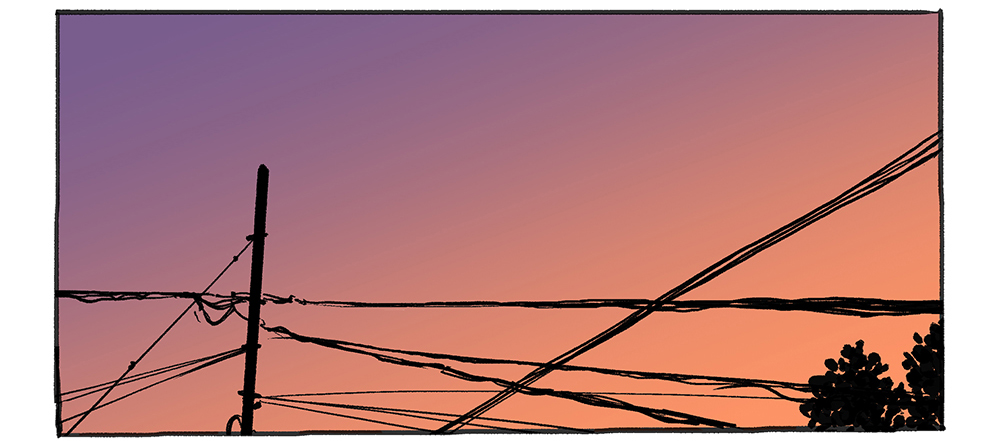
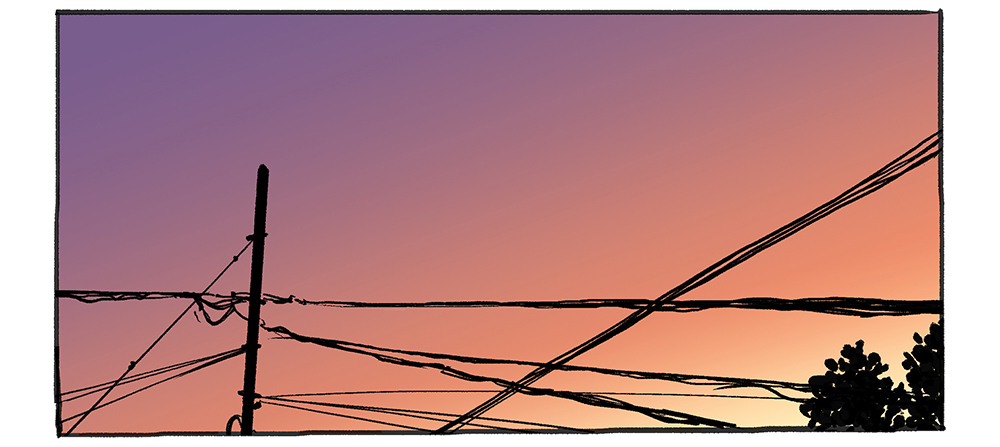
Two layers of gradations. The first layer is orange. The second layer is yellow. Place the gradation based on where the sun is located.
I painted two layers of clouds with significant height difference for dawn/dusk sky. This will create a nice depth created by the light source. The light will fall directly to the bottom of higher clouds while it creates back light effect on lower clouds.
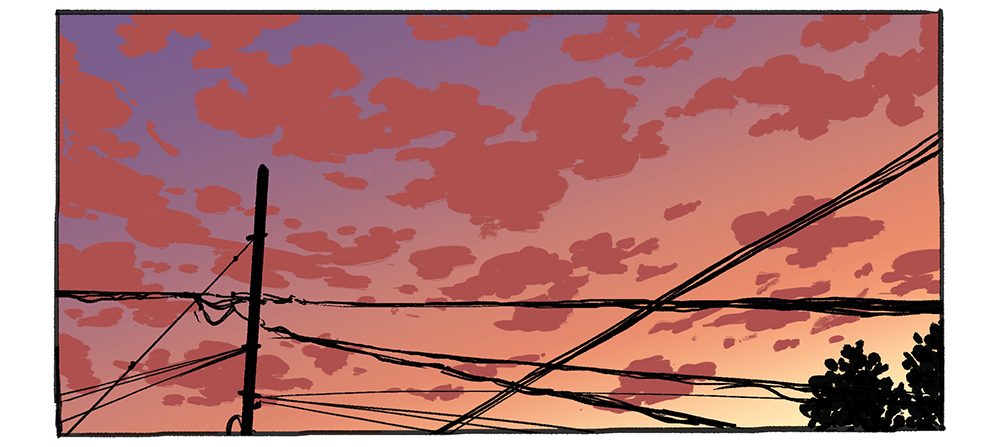
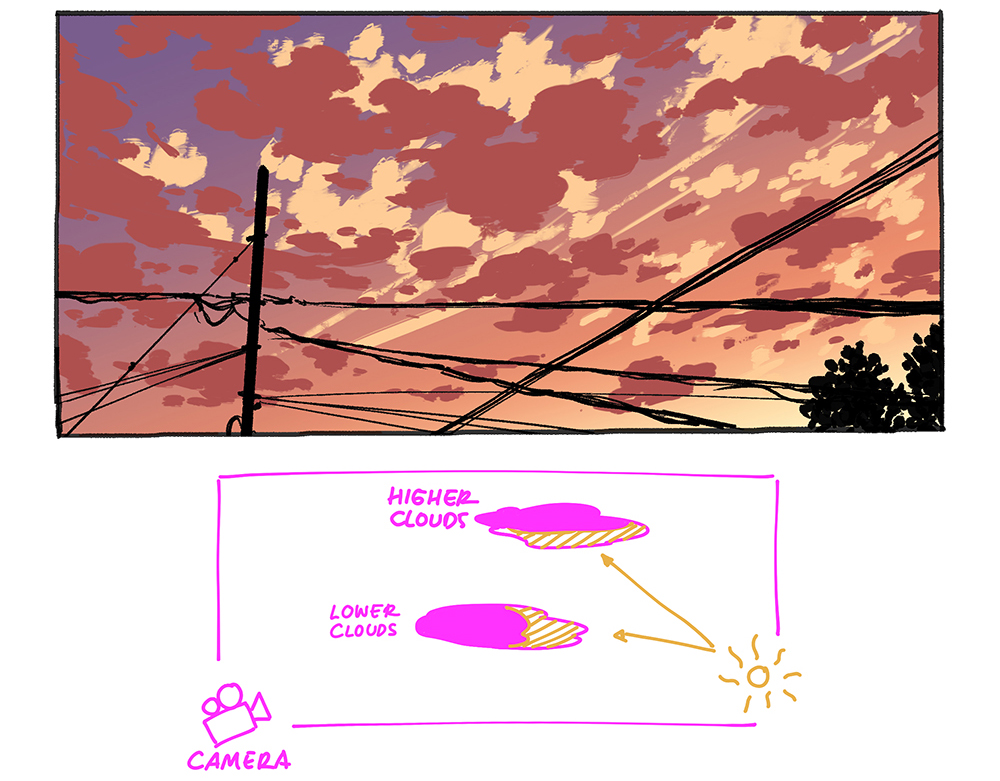
Render the lower clouds so they have more volume.
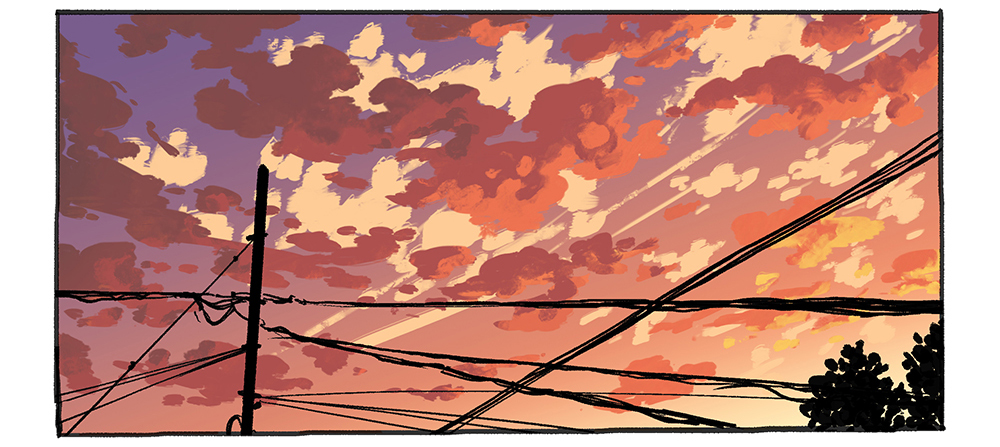
No need to render the higher clouds too much because they are faraway. Some gradation will suffice.
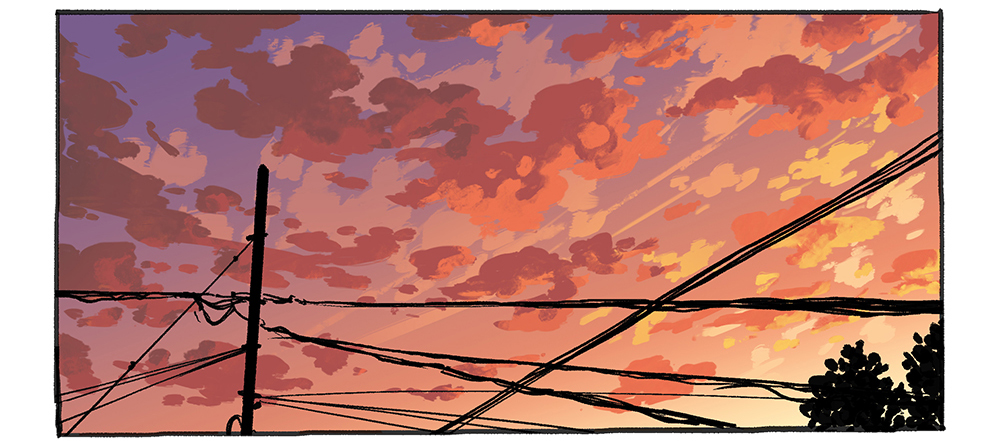
▼Animated GIF
Tips
Always use references! Avoid drawing from our memory. How the sky looks can change according to the level of sun and moon position, weather, height and location. The tutorial I show you above are just a few selective sky conditions out there.
– Ann Maulina
Ann Maulina is a comic artist from Indonesia. Her comics are Raruurien (www.raruurien.com) and Varunair. She also works as a freelance game concept artist at times. She holds a Bachelor's degree in Visual Communication Design, which gives her a high advantage with art and design projects. She enjoys creating art while exploring some dynamic and harmonic colors. You can find her at:
- Twitch
- Artstation
- Patreon
How To Draw Clouds Clip Studio Paint
Source: https://www.clipstudio.net/how-to-draw/archives/161327
Posted by: blackcomentse.blogspot.com

0 Response to "How To Draw Clouds Clip Studio Paint"
Post a Comment